

Quick Linksys Velop Configuration Steps for a Stable Network
It is easy to set up your Linksys Velop for the first time. All you need is your phone and a few minutes. After that, you'll have reliable WiFi throughout your house.
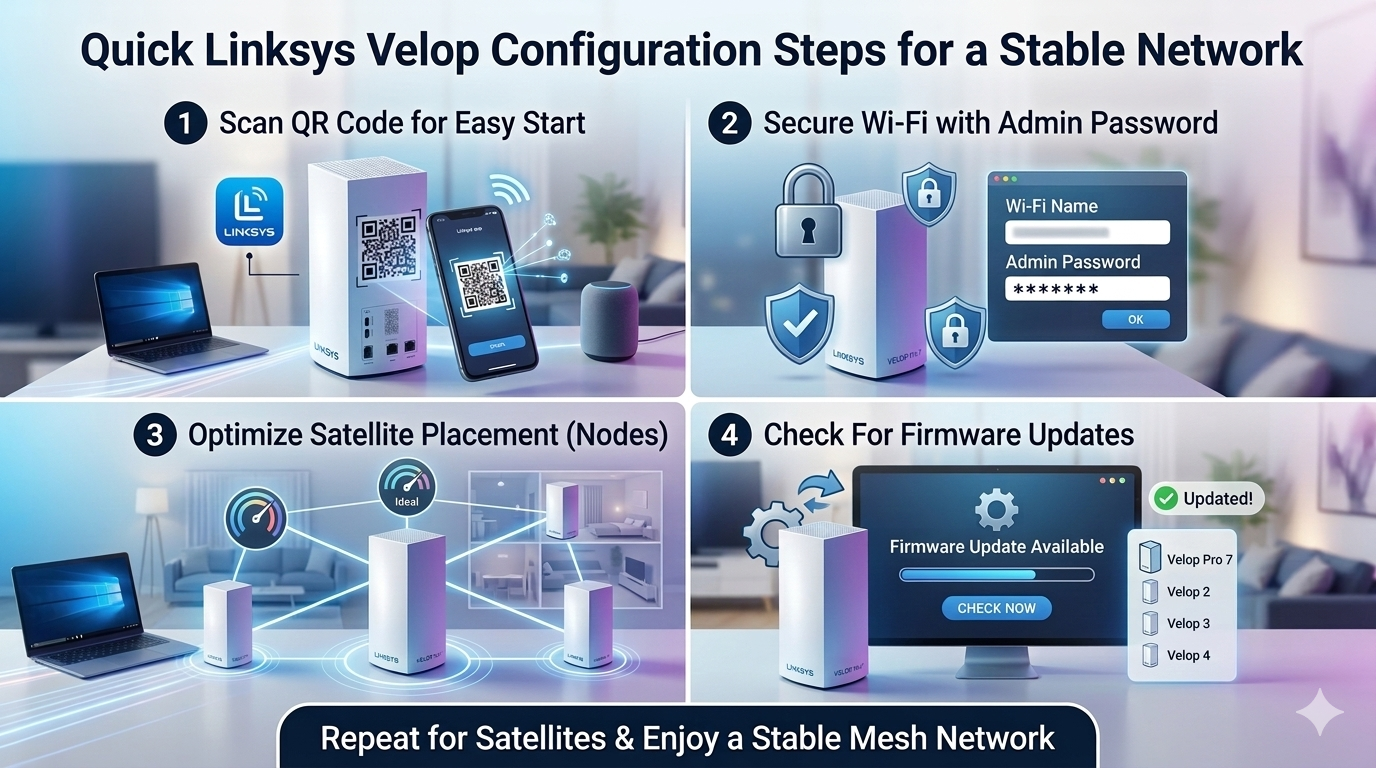
The simple linksys velop configuration steps are as follows:
-
Turn on the primary (parent) node after unpacking your Velop nodes.
-
Use an Ethernet wire to link the parent node to your modem.
-
After plugging it in, watch for the light to turn purple.
-
Get the Linksys app from Google Play or the App Store.
-
Create or sign in to your Linksys account by opening the app.
-
"Set up a new WiFi network" is tapped.
-
Observe the directions displayed on the screen.
In the course of setup, you will:
-
Make your WiFi network name (SSID)
-
Make sure your WiFi password is secure.
-
Select a password for the admin.
-
Allow your internet connection to be checked by the app.
To increase the number of nodes:
-
In a different room, plug in the second node.
-
Hold off until the light turns purple.
-
Click "Add a node" in the app.
-
To pair it, adhere to the directions.
Practical advice:
-
Nodes should be placed outside of cabinets.
-
Keep them away from thick walls and microwaves.
-
During setup, avoid unplugging the parent node.
If an issue arises:
-
Restart Velop and your modem.
-
Verify that the cables are securely fastened.
-
If necessary, reset and try again.
-
Your mesh WiFi system will provide reliable internet across your entire home once everything is finished.
Linksys Velop WiFi system setup is simple if you follow each step individually. Your network will be ready in a matter of minutes if you simply utilize the app and take your time.
For more details visit our website.
Also Read :
How to Setup the Linksys Atlas MAX 6E Setup?