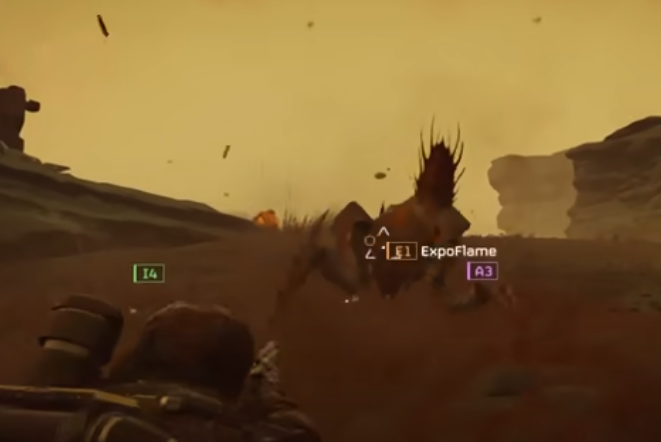
Helldivers 2 Defensive Turret Placement Guide

In Helldivers 2, mastering defensive strategies can often mean the difference between mission success and a frustrating wipe. Among these strategies, proper turret placement is one of the most effective ways to control the battlefield and protect your squad from overwhelming enemy forces. This guide will walk you through practical tips for positioning your defensive turrets to maximize survivability and efficiency.
Understanding Turret Mechanics
Before diving into placement strategies, it’s crucial to understand how turrets function in Helldivers 2. Each turret has a specific range and firing pattern, making its positioning critical. Placing a turret in the wrong spot can lead to wasted resources and gaps in your defenses. Turrets excel in holding chokepoints, covering objectives, and supporting your team during waves of enemies.
Key Placement Strategies
1. Cover Chokepoints
Enemy AI tends to follow predictable paths, which makes chokepoints ideal for turret placement. Positioning a turret near narrow passages allows it to maximize damage on concentrated enemy groups while reducing the risk of friendly fire. Remember, turrets perform best when they can engage multiple enemies simultaneously without obstruction.
2. Protect High-Traffic Zones
Turrets are most valuable when they protect areas your team frequently passes through. Placing them near objectives or supply points can relieve pressure on your squad, allowing you to focus on offensive maneuvers. Be mindful of turret line-of-sight and avoid placing them behind obstacles that may block shots.
3. Layer Your Defenses
Using multiple turrets in a layered setup is often more effective than relying on a single powerful turret. Combine long-range and short-range turrets to cover all engagement distances. This way, even if enemies breach the first line of defense, additional turrets provide backup firepower to hold them off.
4. Consider Environmental Advantages
Elevated positions or narrow corridors can enhance turret effectiveness. High ground can increase range and visibility, while confined spaces funnel enemies into kill zones. Take note of the map layout and experiment with different placements to find the most advantageous spots.
5. Mobile Team Support
While turrets are stationary, your team is mobile. Place turrets where they complement your movement patterns. Avoid blocking paths or creating bottlenecks that hinder teammate maneuverability. Strategic placement should empower your squad rather than restrict them.
Resource Management Tips
Turrets can be costly, especially in extended missions. Ensure you balance your defensive setup with the rest of your loadout. For players looking to optimize resources, you can buy Helldivers 2 items from the super credits store online to expand your defensive options. Having additional turrets or upgraded variants can be a game-changer in tough missions.
Mastering defensive turret placement in Helldivers 2 is all about observation, experimentation, and adaptation. Understanding enemy behavior and leveraging environmental advantages will significantly enhance your team’s survivability. By combining strategic placement with efficient resource management, your squad can hold objectives longer and push deeper into enemy territory. Remember, investing in the right gear is part of the strategy, and you can always buy Helldivers 2 items from the super credits store online to ensure your defenses are well-equipped.
- Art
- Causes
- Crafts
- Dance
- Drinks
- Film
- Fitness
- Food
- Giochi
- Gardening
- Health
- Home
- Literature
- Music
- Networking
- Altre informazioni
- Party
- Religion
- Shopping
- Sports
- Theater
- Wellness


