Cummins 5.9 Engine Belt Diagram: A Complete Guide for Owners

Cummins 5.9 Engine Belt Diagram: A Complete Guide for Owners
The Cummins 5.9L diesel engine has earned a legendary reputation for durability and performance. Found in Dodge Ram trucks, buses, and various industrial machines, it’s a favorite among owners who value both power and longevity. But like all engines, it relies on smaller components to keep running smoothly—one of the most important being the engine belt.
If you’re planning a belt replacement or simply want to understand how your engine works, knowing the Cummins 5.9 engine belt diagram is essential. This guide will walk you through the basics of the belt system, explain why the diagram matters, and give you tips for installation and maintenance.
The Role of the Engine Belt in the 5.9 Cummins
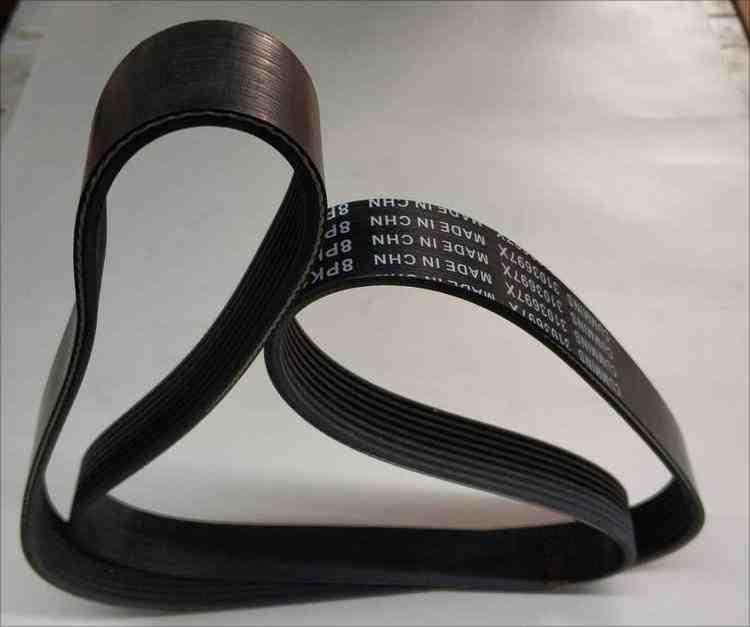
The 5.9L Cummins uses a serpentine belt (also called an accessory drive belt) to transfer power from the crankshaft to several key components, including:
Alternator – keeps the battery charged
Water Pump – circulates coolant to prevent overheating
Power Steering Pump – ensures smooth steering operation
Air Conditioning Compressor – provides cooling comfort
Fan (in some models) – helps manage engine temperature
Without a properly functioning belt, these systems will fail, leading to overheating, electrical issues, or loss of steering control.
Understanding the Cummins 5.9 Engine Belt Diagram
The belt diagram shows the exact routing path of the serpentine belt across pulleys and accessories. On most Cummins 5.9 engines, the routing is as follows (may vary slightly by year and configuration):
The belt starts at the crankshaft pulley
Loops around the tensioner pulley
Wraps over the alternator
Goes to the water pump pulley
Runs across the power steering pump
Connects to the AC compressor
Returns to the crankshaft pulley
Most vehicles with a 5.9 Cummins will have a belt diagram sticker under the hood. If it’s missing, having a reference guide (or printing one out) is crucial before removing the old belt.
Why the Belt Diagram Is Important
Correct Installation – Following the exact routing prevents misalignment and premature wear.
Time-Saving for DIY Repairs – Even experienced mechanics use diagrams to avoid mistakes.
Essential for Emergency Fixes – If the belt slips or breaks on the road, the diagram helps you reinstall a replacement quickly.
Steps for Replacing the Belt on a Cummins 5.9
Locate the Tensioner
Use a wrench or ratchet to rotate the belt tensioner and release tension.
Remove the Old Belt
Slide the belt off each pulley carefully.
Follow the Diagram for Installation
Route the new belt according to the Cummins 5.9 belt diagram, ensuring proper alignment.
Reapply Tension
Release the tensioner slowly to secure the new belt.
Double-Check the Routing
Make sure the belt sits fully in each pulley groove before starting the engine.
Maintenance Tips for Your Cummins 5.9 Engine Belt
Inspect the belt every 10,000 miles for cracks, fraying, or glazing.
Replace it roughly every 60,000–100,000 miles, or sooner if you notice wear.
Check the tensioner and pulleys during replacement—worn components can cause a new belt to fail prematurely.
Always use a genuine Cummins belt or high-quality OEM equivalent for the best performance and fit.
Conclusion
The Cummins 5.9 engine belt diagram is more than just a routing guide—it’s a critical reference for keeping your engine accessories running properly. Whether you’re performing regular maintenance or handling an unexpected repair, having this diagram ensures correct installation and reliable operation.
By pairing a clear understanding of the diagram with high-quality replacement belts, you’ll extend the life of your 5.9 Cummins and keep it performing at its best for years to come.
- Art
- Causes
- Crafts
- Dance
- Drinks
- Film
- Fitness
- Food
- Juegos
- Gardening
- Health
- Inicio
- Literature
- Music
- Networking
- Otro
- Party
- Religion
- Shopping
- Sports
- Theater
- Wellness


