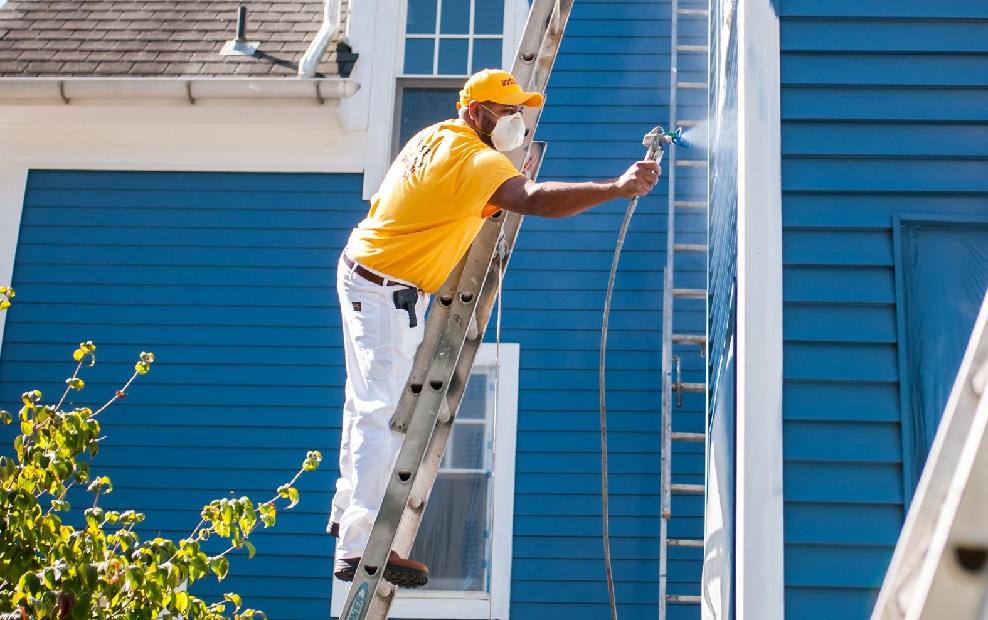
How to Prepare Surfaces for Spray Painting

Spray painting is one of the most efficient ways to achieve a smooth, even finish on industrial and commercial surfaces. But before you get to the actual spraying, there's a crucial step that can't be skipped: surface preparation. Without it, even the best spray paint won’t last, and the final result will look patchy, uneven, or start to peel too soon.
Whether you're dealing with metal cladding, steel structures, ceilings, or walls, proper preparation ensures the paint adheres well and stands up to daily wear and tear.
If you’re planning a commercial project, industrial spray painting from the best commercial painting contractors in Bournemouth can save you time, reduce maintenance costs, and improve the look and durability of your surfaces.
Why Surface Preparation Matters
Spray paint doesn’t just stick to any surface. It bonds with the top layer, which must be clean, dry, and smooth. If the surface has grease, dust, flaking paint, or rust, the coating may bubble, chip, or fail to adhere properly. That means you’ll be facing expensive touch-ups far sooner than expected.
Surface prep also helps paint flow evenly across large areas and ensures a consistent colour and texture. Skipping this step risks turning a quick fix into a long-term headache.
Step 1: Clean the Surface Thoroughly
Start by removing any dirt, dust, oil, or grease from the surface. For industrial settings, this usually involves power washing or degreasing. If you're working indoors, use a mild detergent and a clean cloth to wipe down the area.
Don’t forget to rinse well and let everything dry completely. Any moisture left behind can interfere with paint adhesion.
Tip: For heavily greased surfaces, use a degreaser specifically designed for industrial equipment or metal surfaces. Always follow the manufacturer’s instructions and safety precautions.
Step 2: Remove Loose Paint or Rust
If the surface has old, flaking paint, it must be removed before spray painting. A wire brush, scraper, or sander can help you strip away loose paint. For more aggressive removal, tools like rotary sanders or shot blasting equipment are used, especially on large or corroded surfaces.
Rust is another issue. You’ll need to sand or grind it away completely. Painting over rust traps moisture underneath the surface, which can lead to blistering and structural damage.
Step 3: Sand for Smoothness
Once old paint and rust are removed, sanding the surface is the next key step. Sanding smooths out rough patches and creates a texture that helps new paint grip properly. Use medium to fine-grit sandpaper, depending on the material.
Metal surfaces may require specific abrasives, while wood or drywall will need lighter sanding to avoid damage.
Be sure to wipe down the area with a tack cloth or a vacuum after sanding. Any lingering dust will compromise the finish.
Step 4: Mask and Protect Surroundings
Before you start painting, mask off areas you don’t want sprayed. This includes fixtures, fittings, windows, and floors. Use masking tape and plastic sheeting or drop cloths.
Spray paint can drift beyond the target area, especially in open or poorly ventilated spaces. Proper masking prevents overspray and keeps the job clean and professional.
Tip: In commercial environments, make sure to section off the work area and follow safety guidelines, especially if painting around machinery or ventilation systems.
Step 5: Apply a Primer if Needed
Priming is an essential step for many surfaces, especially metal, wood, or previously unpainted areas. Primers help the spray paint adhere better and extend its lifespan. They also prevent staining, corrosion, and uneven absorption.
Choose a primer that’s compatible with both your surface and the spray paint you're using. For metal, rust-inhibiting primers are a smart choice. For wood or drywall, choose a bonding primer that prevents bleed-through.
Apply the primer in a thin, even coat and allow it to dry completely before spray painting. Follow the drying time on the product label.
Step 6: Inspect Before Painting
After cleaning, sanding, and priming, give the surface a final check. Look for rough spots, debris, or missed areas. Wipe everything down to make sure it's free of dust and ready for paint.
A clean, smooth, and well-prepared surface makes all the difference in how the spray paint performs and how long it lasts.
Benefits of Professional Surface Preparation
Getting the preparation right is often more time-consuming than the painting itself. That’s why many commercial businesses choose professional contractors. Experts come equipped with the right tools, materials, and techniques to handle any surface, whether it’s cladding, steel beams, or ceilings.
They follow strict processes, avoid shortcuts, and understand which products are best for your specific setting. This results in a better finish, fewer reworks, and coatings that last for years.
Common Mistakes to Avoid
-
Skipping surface cleaning: Dirt and grease create barriers between the surface and the paint.
-
Painting over rust: Rust spreads under paint and weakens metal.
-
Not sanding rough surfaces: Paint won’t level properly, leading to blotchy results.
-
Using the wrong primer: Mismatched primers can cause bubbling or peeling.
-
Ignoring drying times: Rushing between steps can lead to a weak bond and poor durability.
Paying attention to each part of the prep process avoids costly problems down the line.
Final Thoughts
Surface preparation is the backbone of a quality spray painting job. It’s what separates a finish that lasts for years from one that starts peeling in a few months. Whether you're restoring metal structures, reviving ceilings, or painting industrial units, every step, from cleaning to priming, plays a crucial role in performance.
- Art
- Causes
- Crafts
- Dance
- Drinks
- Film
- Fitness
- Food
- Spellen
- Gardening
- Health
- Home
- Literature
- Music
- Networking
- Other
- Party
- Religion
- Shopping
- Sports
- Theater
- Wellness


